Let's get started......
Materials:
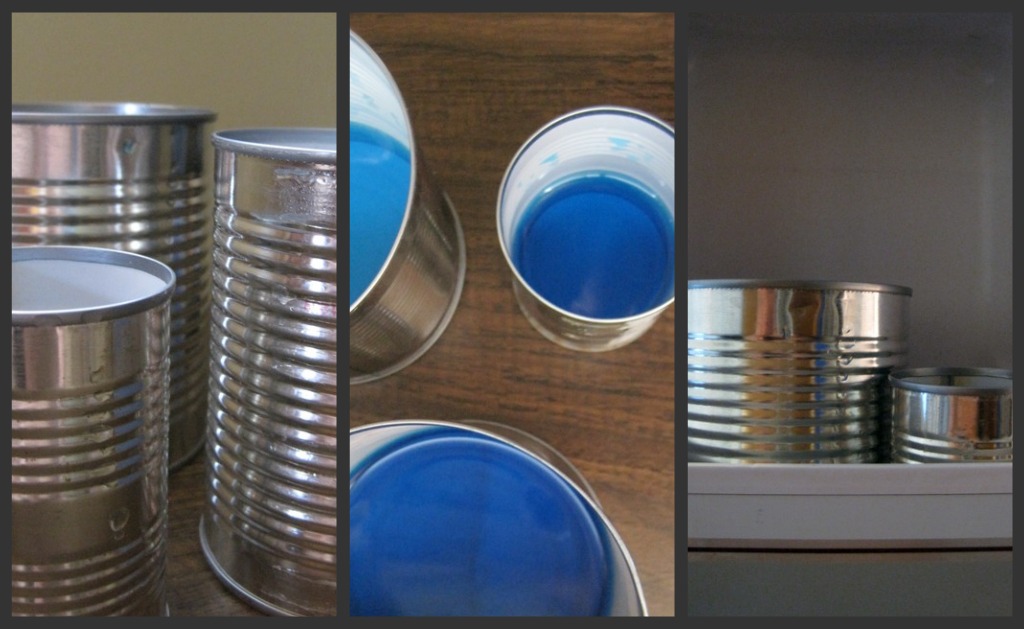
- 3 tin cans of various widths
- water
- hammer and nail
- string/yarn/twine
- buttons or beads
- bolt or heavy washer
Step 1) Clean out cans, fill each can with about 5cm (2 in.) of water, then freeze.
Step 2) Take cans out of freezer and turn upside down on a stable work surface. Hammer a hole into the centre of each can, making it large enough to put the string through. (*note: please give the children straight, clean nails to use....I grabbed the first one I saw and it's condition is, well, older!)

Step 3) Run hot water over cans to dislodge the ice; dry cans. Cut a very long piece of string and prep. 3 buttons or beads. Thread the string through the largest can, leaving about 15cm (6in.) at the top, and tie on a button/bead to secure it in place. Continue with the next two cans, being sure to secure them so that each can sits about 2.5cm (1in.) into the other can. You can fiddle around with it though to get it just the way you like it.
To Finish: Thread buttons or beads on the bottom string and tie the bolt or washer to the very end. Hang in the yard or by an open window :)

As an extension or a pre-chime making, decorate the cans! Let me know how yours turn out!
Until You Read Again.....
No comments:
Post a Comment