Showing posts with label art. Show all posts

Sunday, September 18, 2011

Cardboard Builders

Another way to upcycle your cardboard.

  1. Cut cardboard into shapes
  2. Paint/dry
  3. Snip slots into 3 or 4 sides of shapes


Scultures a-plenty! 
(unfortunately, I do not remember what site I found this....my apologies)

Until You Read Again....


Friday, August 19, 2011

Flower Pot Reuse

Another good way to reuse something that might end up in the landfill.
You might also like to try putting your crayons, markers or pencils in it. 
Until You Read Again......

Wednesday, July 20, 2011

Asphalt Canvas

Found a great "how-to" at Let the Children Play via The Crafty Crow on making your own chalk paints.  Although ours didn't turn out just like theirs, for the children it was simply the ability to freely create their own paints that mattered most.  The looks of pride in their faces when they finally reached their perfect colour was wonderful : )

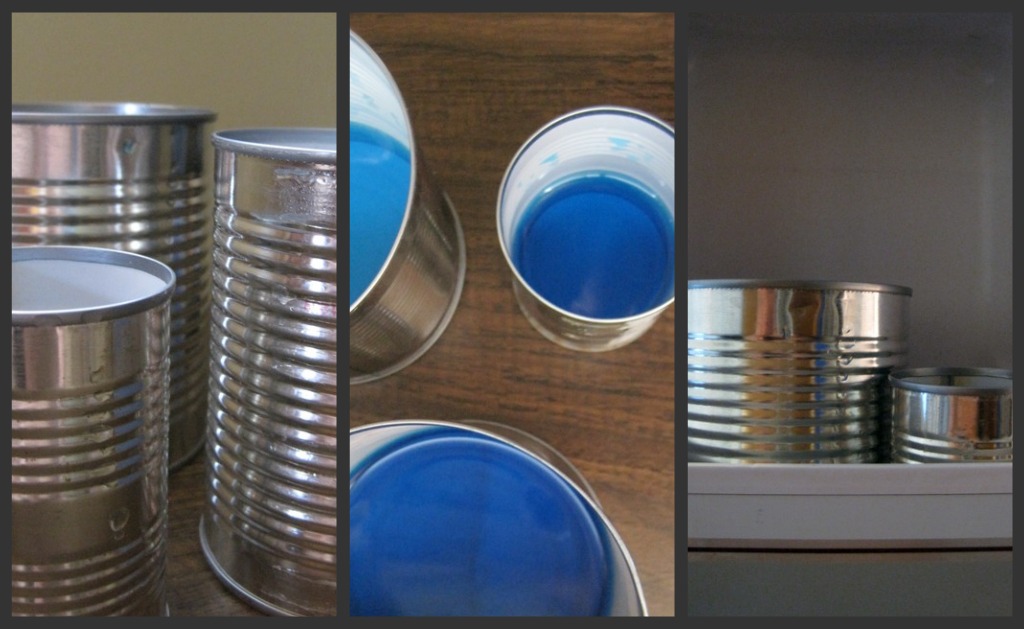
Mixing colours in jars.


Spectacular! (yah, I enhanced the photos @ Picnik)

What a great way to brighten the playground!
Until You Read Again....

Friday, July 15, 2011

Layers

One afternoon I set out the colouring area with small squares and rectangles of card stock and regular paper.....no takers.  The next morning I stepped in for a co-worker in the Kindergarten program and set out the same activity.  The first two children in that day gravitated towards the table and asked "can we use these?", "Of course!" I said.  The children began laying out the different pieces of paper on the table top, one of the children said "how am I going to stick this together?"  I went to the paper drawer and pulled out large pieces of (frame) matting, set them on the table with some glue sticks and they eagerly began gluing down their masterpieces.  They finalized their art with shades of blue accented with black, grey and white.


BEAUTIFUL!!!
Until You Read Again....

Wax Paper Painting

This idea hit me as I was contemplating doing the wax paper and crayon sun catchers.  Why not paint them?
Start by unrolling a sheet of wax paper, leaving enough on the bottom to make a palette (the children then get to arrange their own pallette and mix colours freely).  Using a permanent marker, draw your picture to be painted.  It can be a free-form design or place the wax paper over a picture and trace with a fine tipped permanent marker.  Finally, use acryllic paint to finish off your design!  

Give it a try!
Until You Read Again.....

Thursday, July 7, 2011

Paper Tube Cuffs

The children had oodles of designing fun yesterday when they made paper tube cuffs and bracelets.
You can make them too with stuff you probablly already have handy!


Paper tubes and Scissors...


Collaging Materials...


....and Glue


Oooo Lala!


They spent a good part of an hour creating and kept coming back in between other play times to make more!
Hope this inspires you and your group.

Until You Read Again......


Saturday, June 25, 2011

Rainbow Noodles

Sometimes, when it's grey and gloomy outside, a little colour inside can brighten the day!

Coloured noodles were always fasinating to me as a child, "the pasta at my house doesn't look like that" I'd think to myself.  Although most of us as Educators have been taught not to use food as art items, my personal philosophy/opinions sometimes bend the rules. 

Making coloured pasta is extremely easy and there is NO need to use rubbing alcohol as some recipes suggest.


You'll Need:
~ Noodles of various shapes
~ Liquid food colouring....and lots of it!
~ Baggie or container with a tight seal
~ Newspaper
~ Table or large drying area
~ Rubber gloves

How To:
1) Spread out newspaper on table or drying area
2) Fill baggie or container 3/4 full with noodles (fyi - this is a great way to learn the actual names of the noodles)
3) Add 2 (or more) Tablespoons of liquid food colour to the baggie or container and SHAKE, SHAKE, SHAKE!!!  Mix and mingle colours to see what happens....how does one make black and lime green?
4) Wearing your rubber gloves, spread noodles out on the newspaper, turning once (possibly twice) to evenly dry.
5) Make necklaces, create collages, play sorting games and if you feel adventurous, boil and eat them!

I hope you enjoy this activity as much as "my" children have!
Until You Read Again......

Tuesday, June 21, 2011

Tin Can Chime - First Tutorial!

I've wanted to make this for the longest time.  It's a fun (and easy) way to upcycle all the tin cans we would otherwise recycle.

Let's get started......

Materials:
  • 3 tin cans of various widths
  • water
  • hammer and nail
  • string/yarn/twine
  • buttons or beads
  • bolt or heavy washer
How To:

Step 1)  Clean out cans, fill each can with about 5cm (2 in.) of water, then freeze.


Step 2) Take cans out of freezer and turn upside down on a stable work surface.  Hammer a hole into the centre of each can, making it large enough to put the string through. (*note: please give the children straight, clean nails to use....I grabbed the first one I saw and it's condition is, well, older!)


Step 3) Run hot water over cans to dislodge the ice; dry cans.  Cut a very long piece of string and prep. 3 buttons or beads.  Thread the string through the largest can, leaving about 15cm (6in.) at the top, and tie on a button/bead to secure it in place.  Continue with the next two cans, being sure to secure them so that each can sits about 2.5cm (1in.) into the other can. You can fiddle around with it though to get it just the way you like it. 
To Finish: Thread buttons or beads on the bottom string and tie the bolt or washer to the very end.  Hang in the yard or by an open window :)


As an extension or a pre-chime making, decorate the cans!  Let me know how yours turn out!
Until You Read Again.....